How to Upload a Folder in Cpanel File Manager
How to use File Manager in cPanel
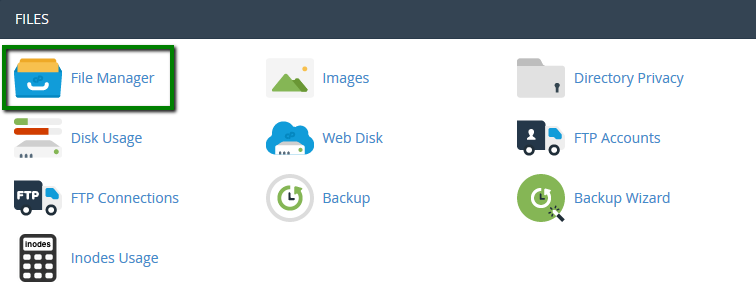
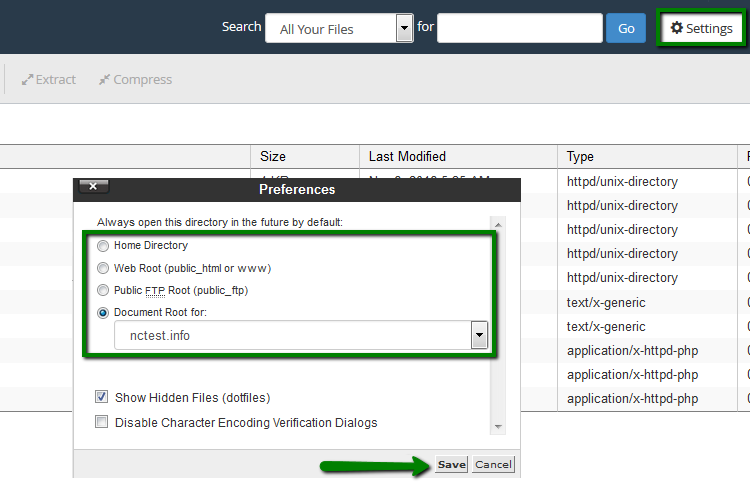
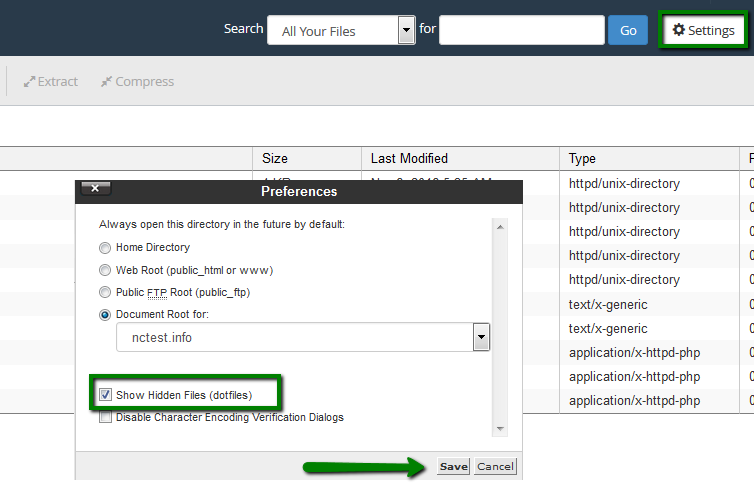
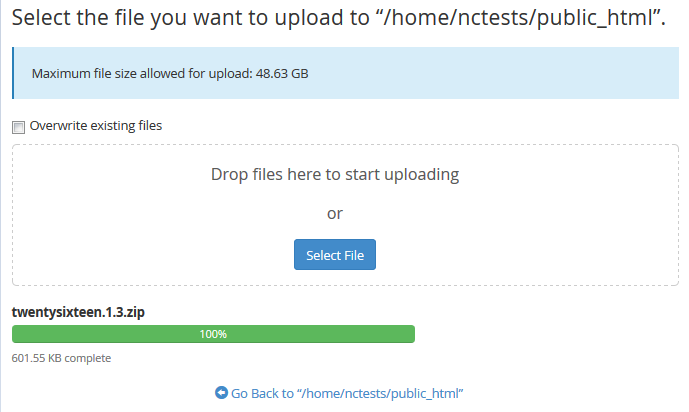
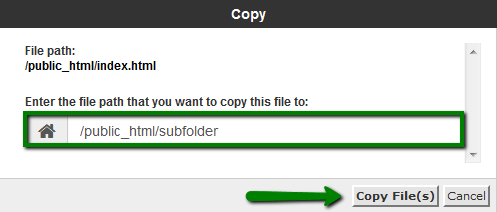
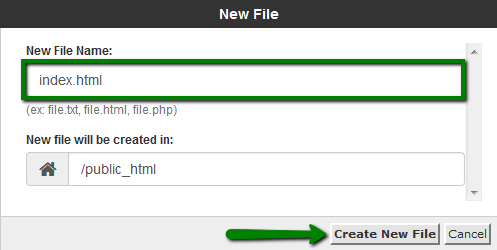
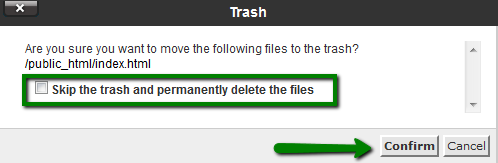
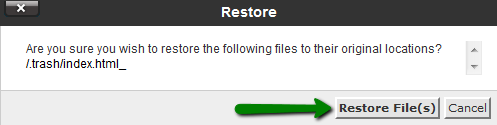
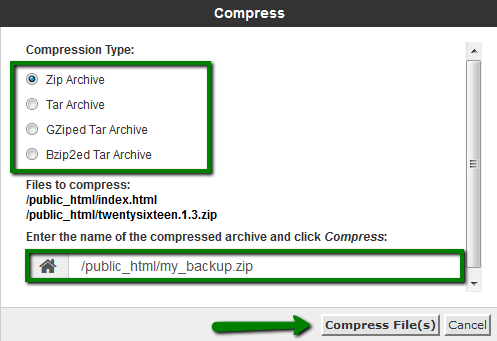
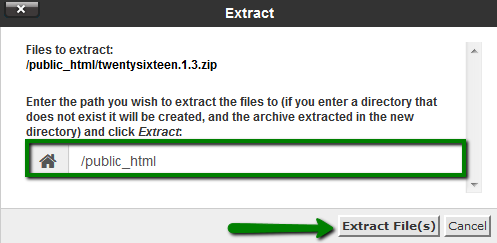
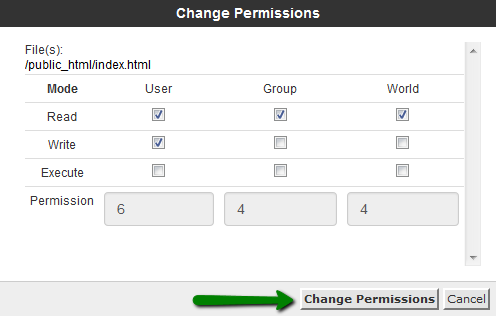
In this guideline, you volition detect detailed instructions how to manage (add, delete, view, change) files from your cPanel account using File Managing director. How to admission File Director 1. Log into your cPanel account and navigate to Files department >> File Manager menu: For cPanel Basic Theme: For cPanel Retro Theme: Here you can also enable Show Hidden Files (dotfiles) option. In this style organisation files, like .htaccess, volition be displayed in File Manager as well: The public_html folder is the web root for your primary domain proper noun. This ways that public_html is the folder where you put all website files which you desire to appear when someone types your main domain (the one you provided when you lot signed up for hosting). If y'all wish to upload files for your addon domain, yous will demand to motion to home/user/youraddondomain.com directory. This directory is created automatically on adding an addon domain to the cPanel account. #1 The file managing director toolbar In the starting time department, you tin detect a toolbar with all the basic functions for managing files like create a new folder, delete a file, upload/download and much more. The second is the file list section, it displays the content of the selected directory. If no files or folders are created, the following message will be displayed in the file window This directory is an empty bulletin. The navigation toolbar section allows navigating between folders in the file window. The location department shows the directory you are currently located in. iv. To Upload a file: v. To Copy/Move a file: 6. To create a new file: 7. To Delete a file: Notation: The files will be stored in the trash folder for 90 days. After that, they will exist removed from the server automatically. 8. To Restore a file: 9. To Edit a file: HTML Editor: this editor volition edit a certificate as an HTML document. In this editor, you tin can as well switch betwixt design view (as a text document), source view (through the html code itself), or a preview fashion (view the page through the web) by selecting the appropriate tab in the bottom left of the editor 10. To Shrink a file It is useful to shop a group of files in one file for an easy backup or for a transfer to another directory as well as compress large files. Compressed files accept upwards less deejay space and are downloaded faster via the Internet. The information can be compressed into a single *.zip, *.Gz, or *.Bz2 archive. 11. To Excerpt a file 12. To change Permissions for a file: More information on how to change file/folder permissions can be constitute here. That'south it! Need any help? Contact our HelpDesk

#ii The file window
#3 The navigation toolbar
#4 Current location window 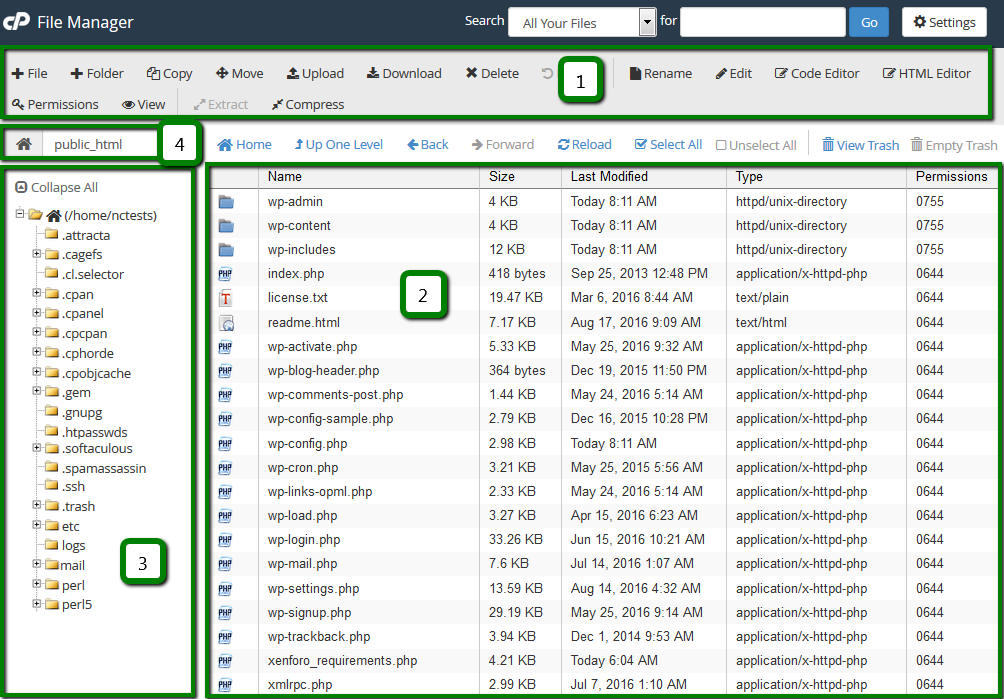


Edit: this editor will edit a certificate equally code and give line numbers down the side of the editor. You can highlight your code with color by using the syntax drib-downwards menu and selecting the code you are working with


Source: https://www.namecheap.com/support/knowledgebase/article.aspx/9700/29/how-to-use-file-manager-in-cpanel/
0 Response to "How to Upload a Folder in Cpanel File Manager"
Post a Comment